Race online in skill-based events or hosted servers The official platform of Le Mans Ultimate and rF2
Upcoming Daily Races
Available On
beginner
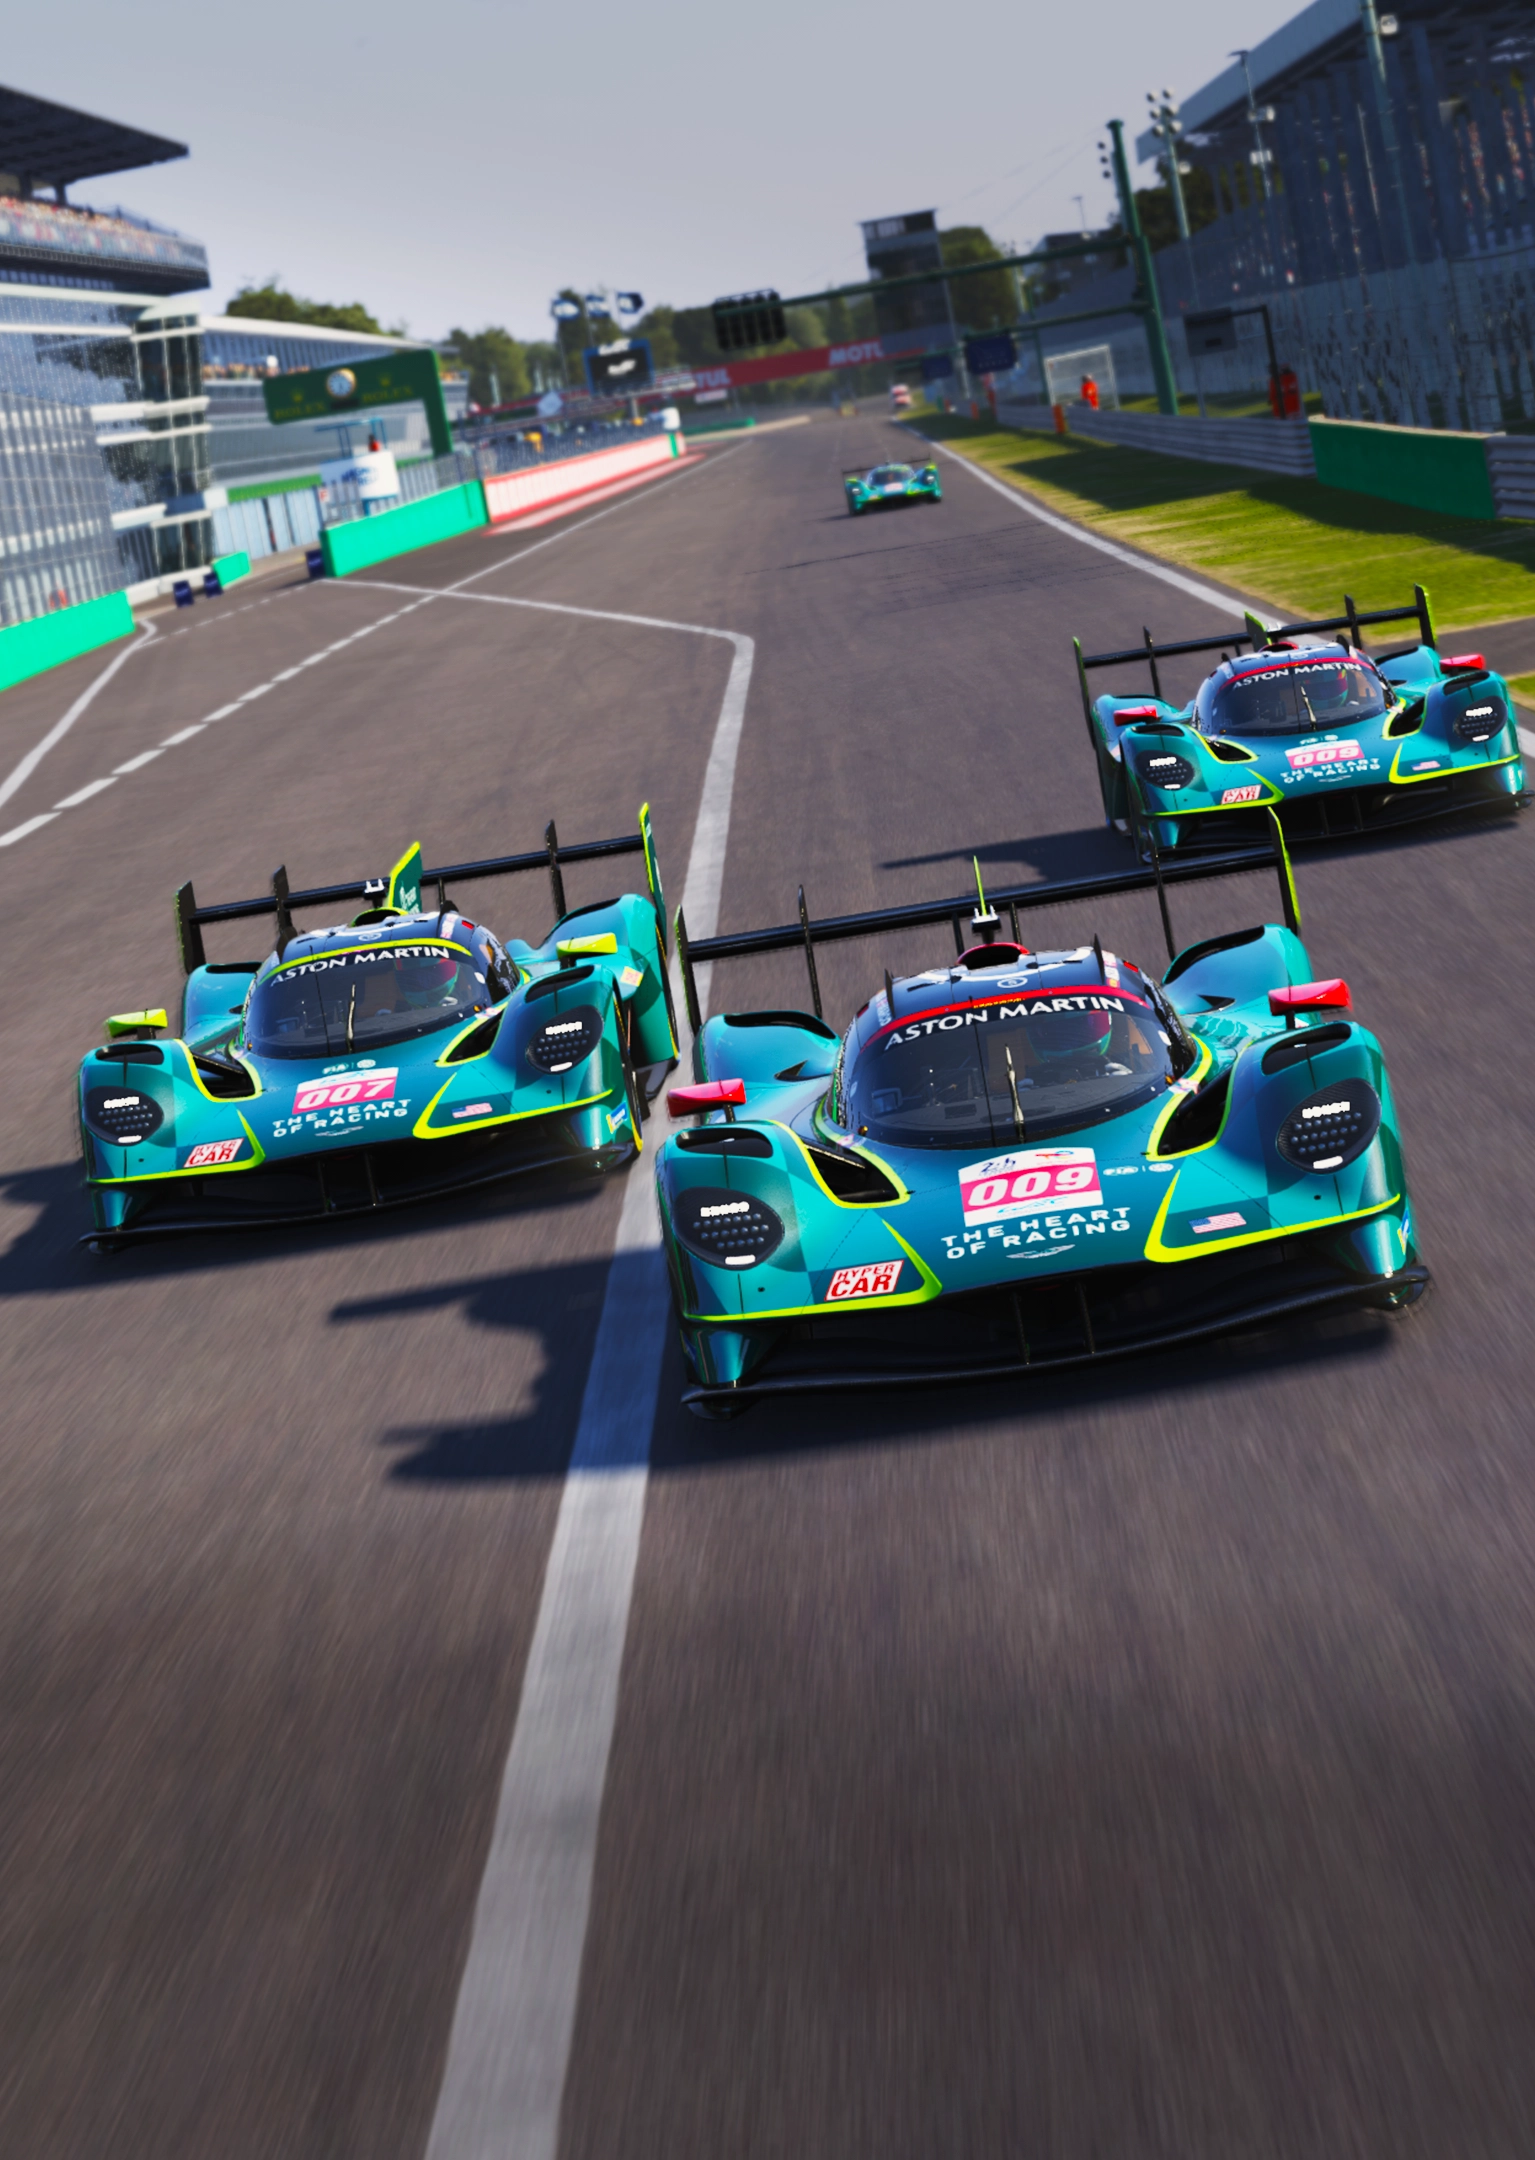
LMGT3 Fixed
Duration
30 minutes
Track
Bahrain Wec 2023
19 Sep at 2:00am19 Sep at 2:40am19 Sep at 3:20am19 Sep at 4:00am19 Sep at 4:40am19 Sep at 5:20am19 Sep at 6:00am19 Sep at 6:40am19 Sep at 7:20am19 Sep at 8:00am19 Sep at 8:40am19 Sep at 9:20am19 Sep at 10:00am19 Sep at 10:40am19 Sep at 11:20am19 Sep at 12:00pm19 Sep at 12:40pm19 Sep at 1:20pm19 Sep at 2:00pm19 Sep at 2:40pm19 Sep at 3:20pm19 Sep at 4:00pm19 Sep at 4:40pm19 Sep at 5:20pm19 Sep at 6:00pm19 Sep at 6:40pm19 Sep at 7:20pm19 Sep at 8:00pm19 Sep at 8:40pm19 Sep at 9:20pm19 Sep at 10:00pm19 Sep at 10:40pm19 Sep at 11:20pm
intermediate
Prototype Trophy
Duration
48 minutes
Track
Spa 2023
19 Sep at 2:15am19 Sep at 3:15am19 Sep at 4:15am19 Sep at 5:15am19 Sep at 6:15am19 Sep at 7:15am19 Sep at 8:15am19 Sep at 9:15am19 Sep at 10:15am19 Sep at 11:15am19 Sep at 12:15pm19 Sep at 1:15pm19 Sep at 2:15pm19 Sep at 3:15pm19 Sep at 4:15pm19 Sep at 5:15pm19 Sep at 6:15pm19 Sep at 7:15pm19 Sep at 8:15pm19 Sep at 9:15pm19 Sep at 10:15pm19 Sep at 11:15pm
beginner
LMGTE Fixed
Duration
30 minutes
Track
Sebring 2023
19 Sep at 2:20am19 Sep at 3:00am19 Sep at 3:40am19 Sep at 4:20am19 Sep at 5:00am19 Sep at 5:40am19 Sep at 6:20am19 Sep at 7:00am19 Sep at 7:40am19 Sep at 8:20am19 Sep at 9:00am19 Sep at 9:40am19 Sep at 10:20am19 Sep at 11:00am19 Sep at 11:40am19 Sep at 12:20pm19 Sep at 1:00pm19 Sep at 1:40pm19 Sep at 2:20pm19 Sep at 3:00pm19 Sep at 3:40pm19 Sep at 4:20pm19 Sep at 5:00pm19 Sep at 5:40pm19 Sep at 6:20pm19 Sep at 7:00pm19 Sep at 7:40pm19 Sep at 8:20pm19 Sep at 9:00pm19 Sep at 9:40pm19 Sep at 10:20pm19 Sep at 11:00pm19 Sep at 11:40pm
advanced
Super 60 Series
Duration
1h 15 minutes
Track
Monza 2023
19 Sep at 2:40am19 Sep at 4:10am19 Sep at 5:40am19 Sep at 7:10am19 Sep at 8:40am19 Sep at 10:10am19 Sep at 11:40am19 Sep at 1:10pm19 Sep at 2:40pm19 Sep at 4:10pm19 Sep at 5:40pm19 Sep at 7:10pm19 Sep at 8:40pm19 Sep at 10:10pm19 Sep at 11:40pm
intermediate
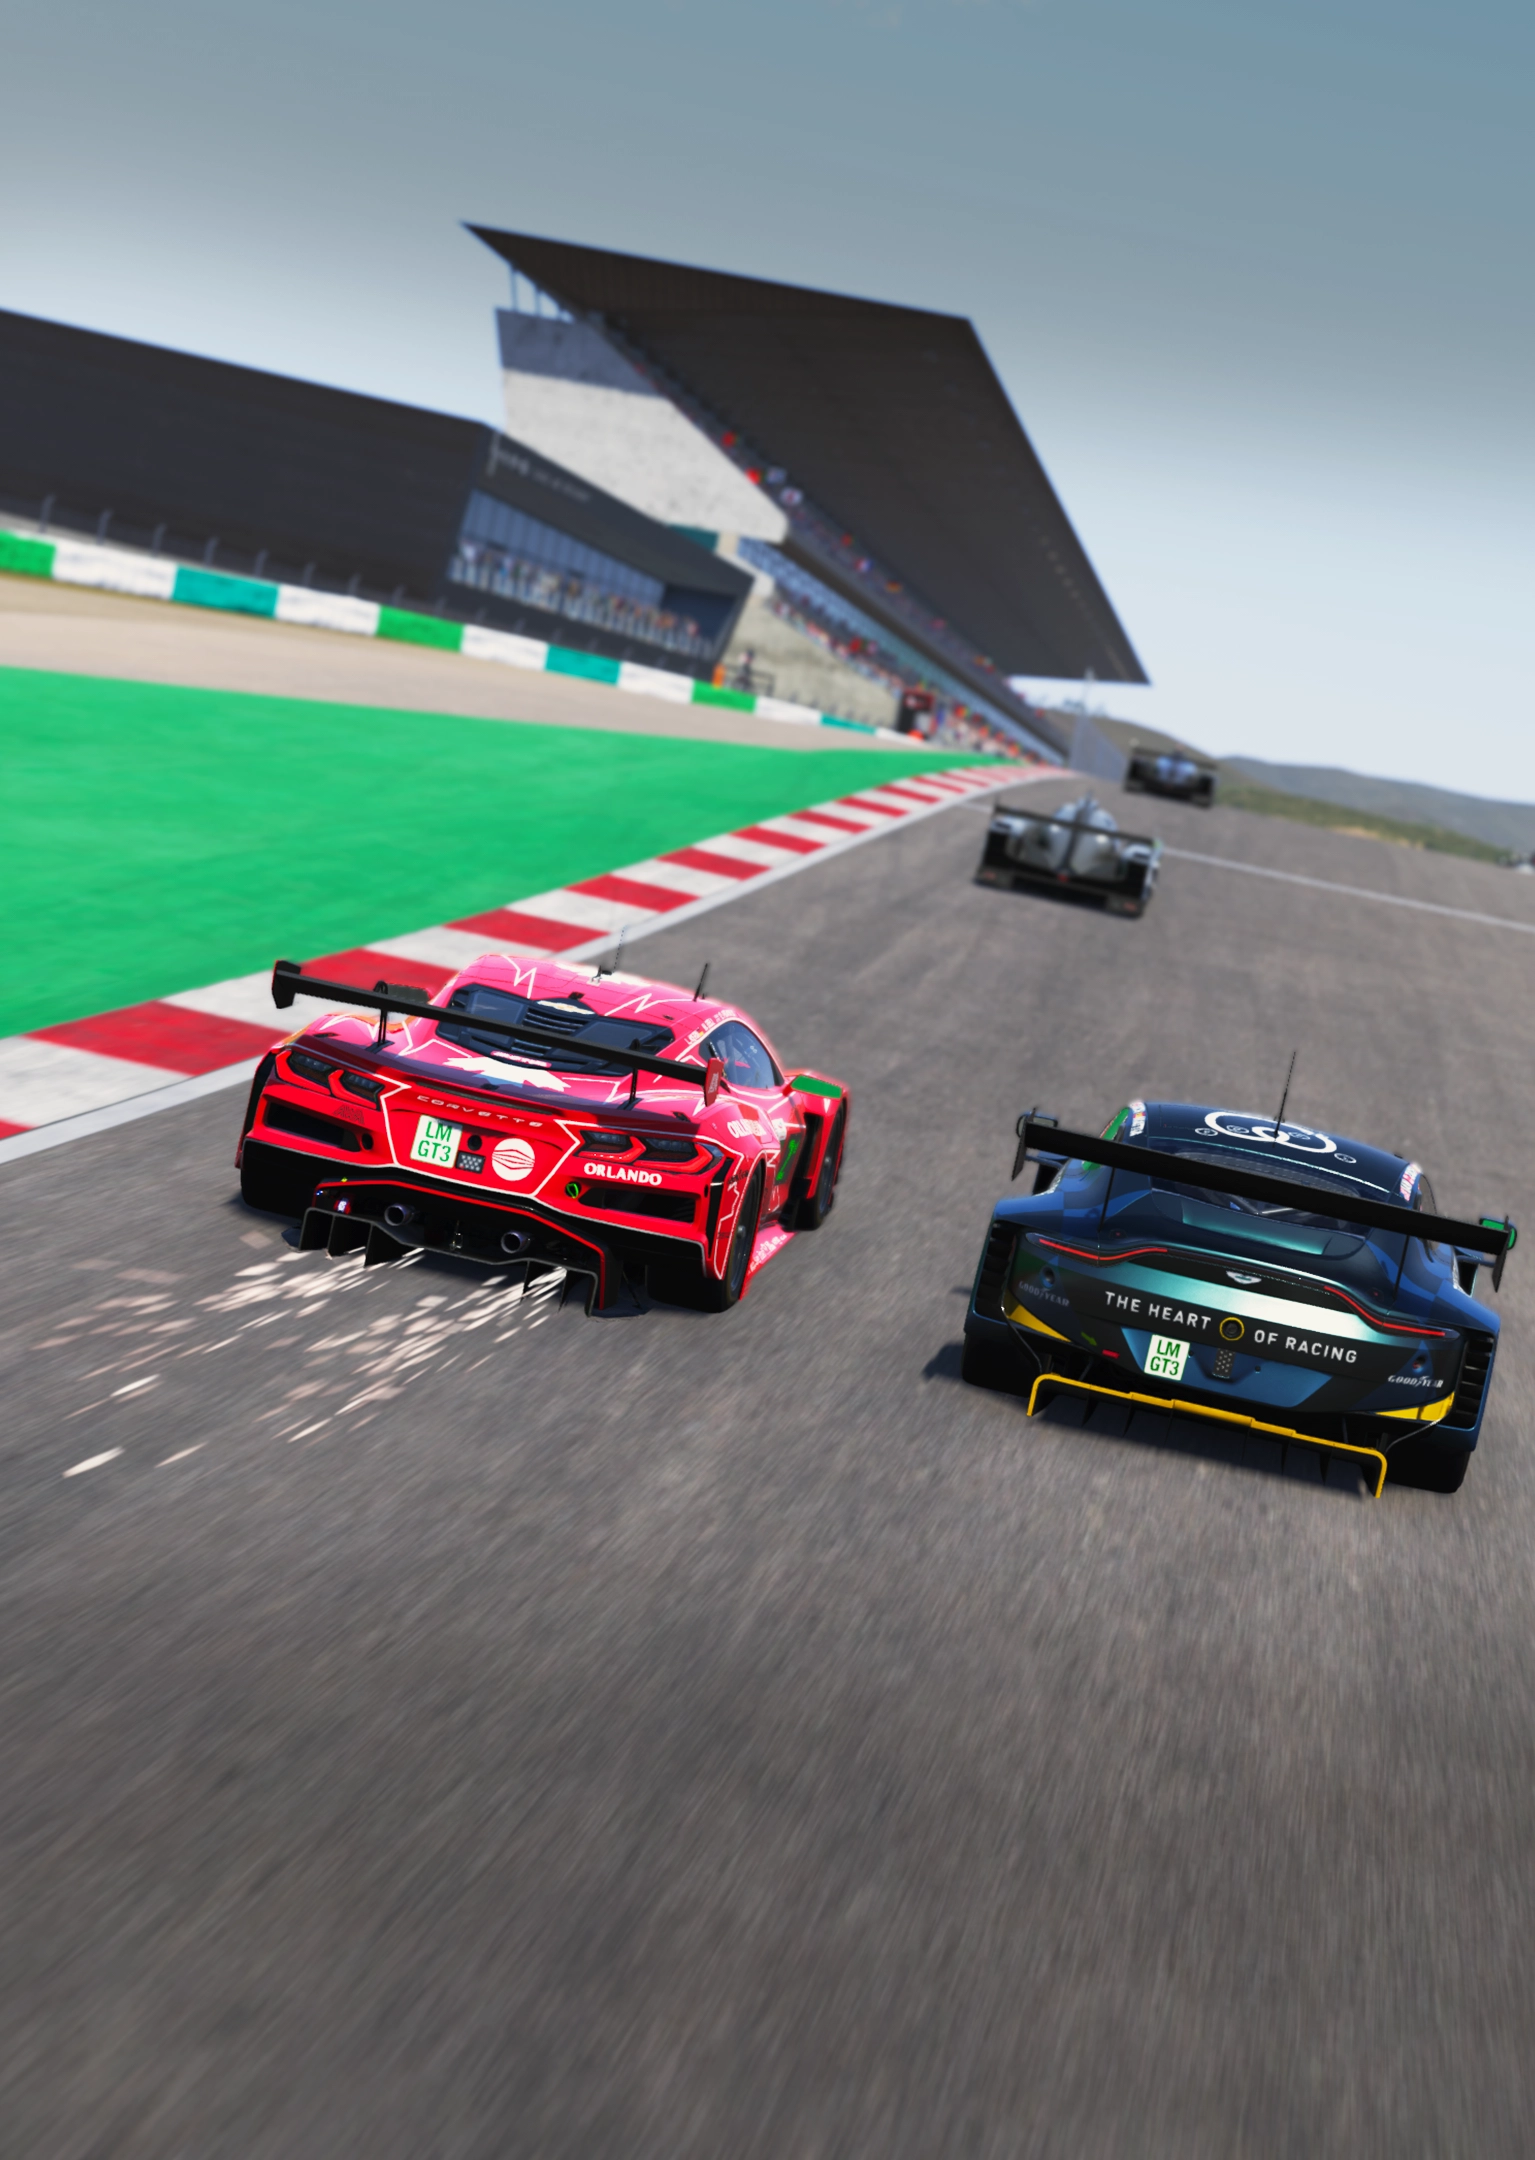
ELMS Sprint Cup
Duration
53 minutes
Track
Portimao Wec 2023
19 Sep at 2:45am19 Sep at 3:45am19 Sep at 4:45am19 Sep at 5:45am19 Sep at 6:45am19 Sep at 7:45am19 Sep at 8:45am19 Sep at 9:45am19 Sep at 10:45am19 Sep at 11:45am19 Sep at 12:45pm19 Sep at 1:45pm19 Sep at 2:45pm19 Sep at 3:45pm19 Sep at 4:45pm19 Sep at 5:45pm19 Sep at 6:45pm19 Sep at 7:45pm19 Sep at 8:45pm19 Sep at 9:45pm19 Sep at 10:45pm19 Sep at 11:45pm
advanced
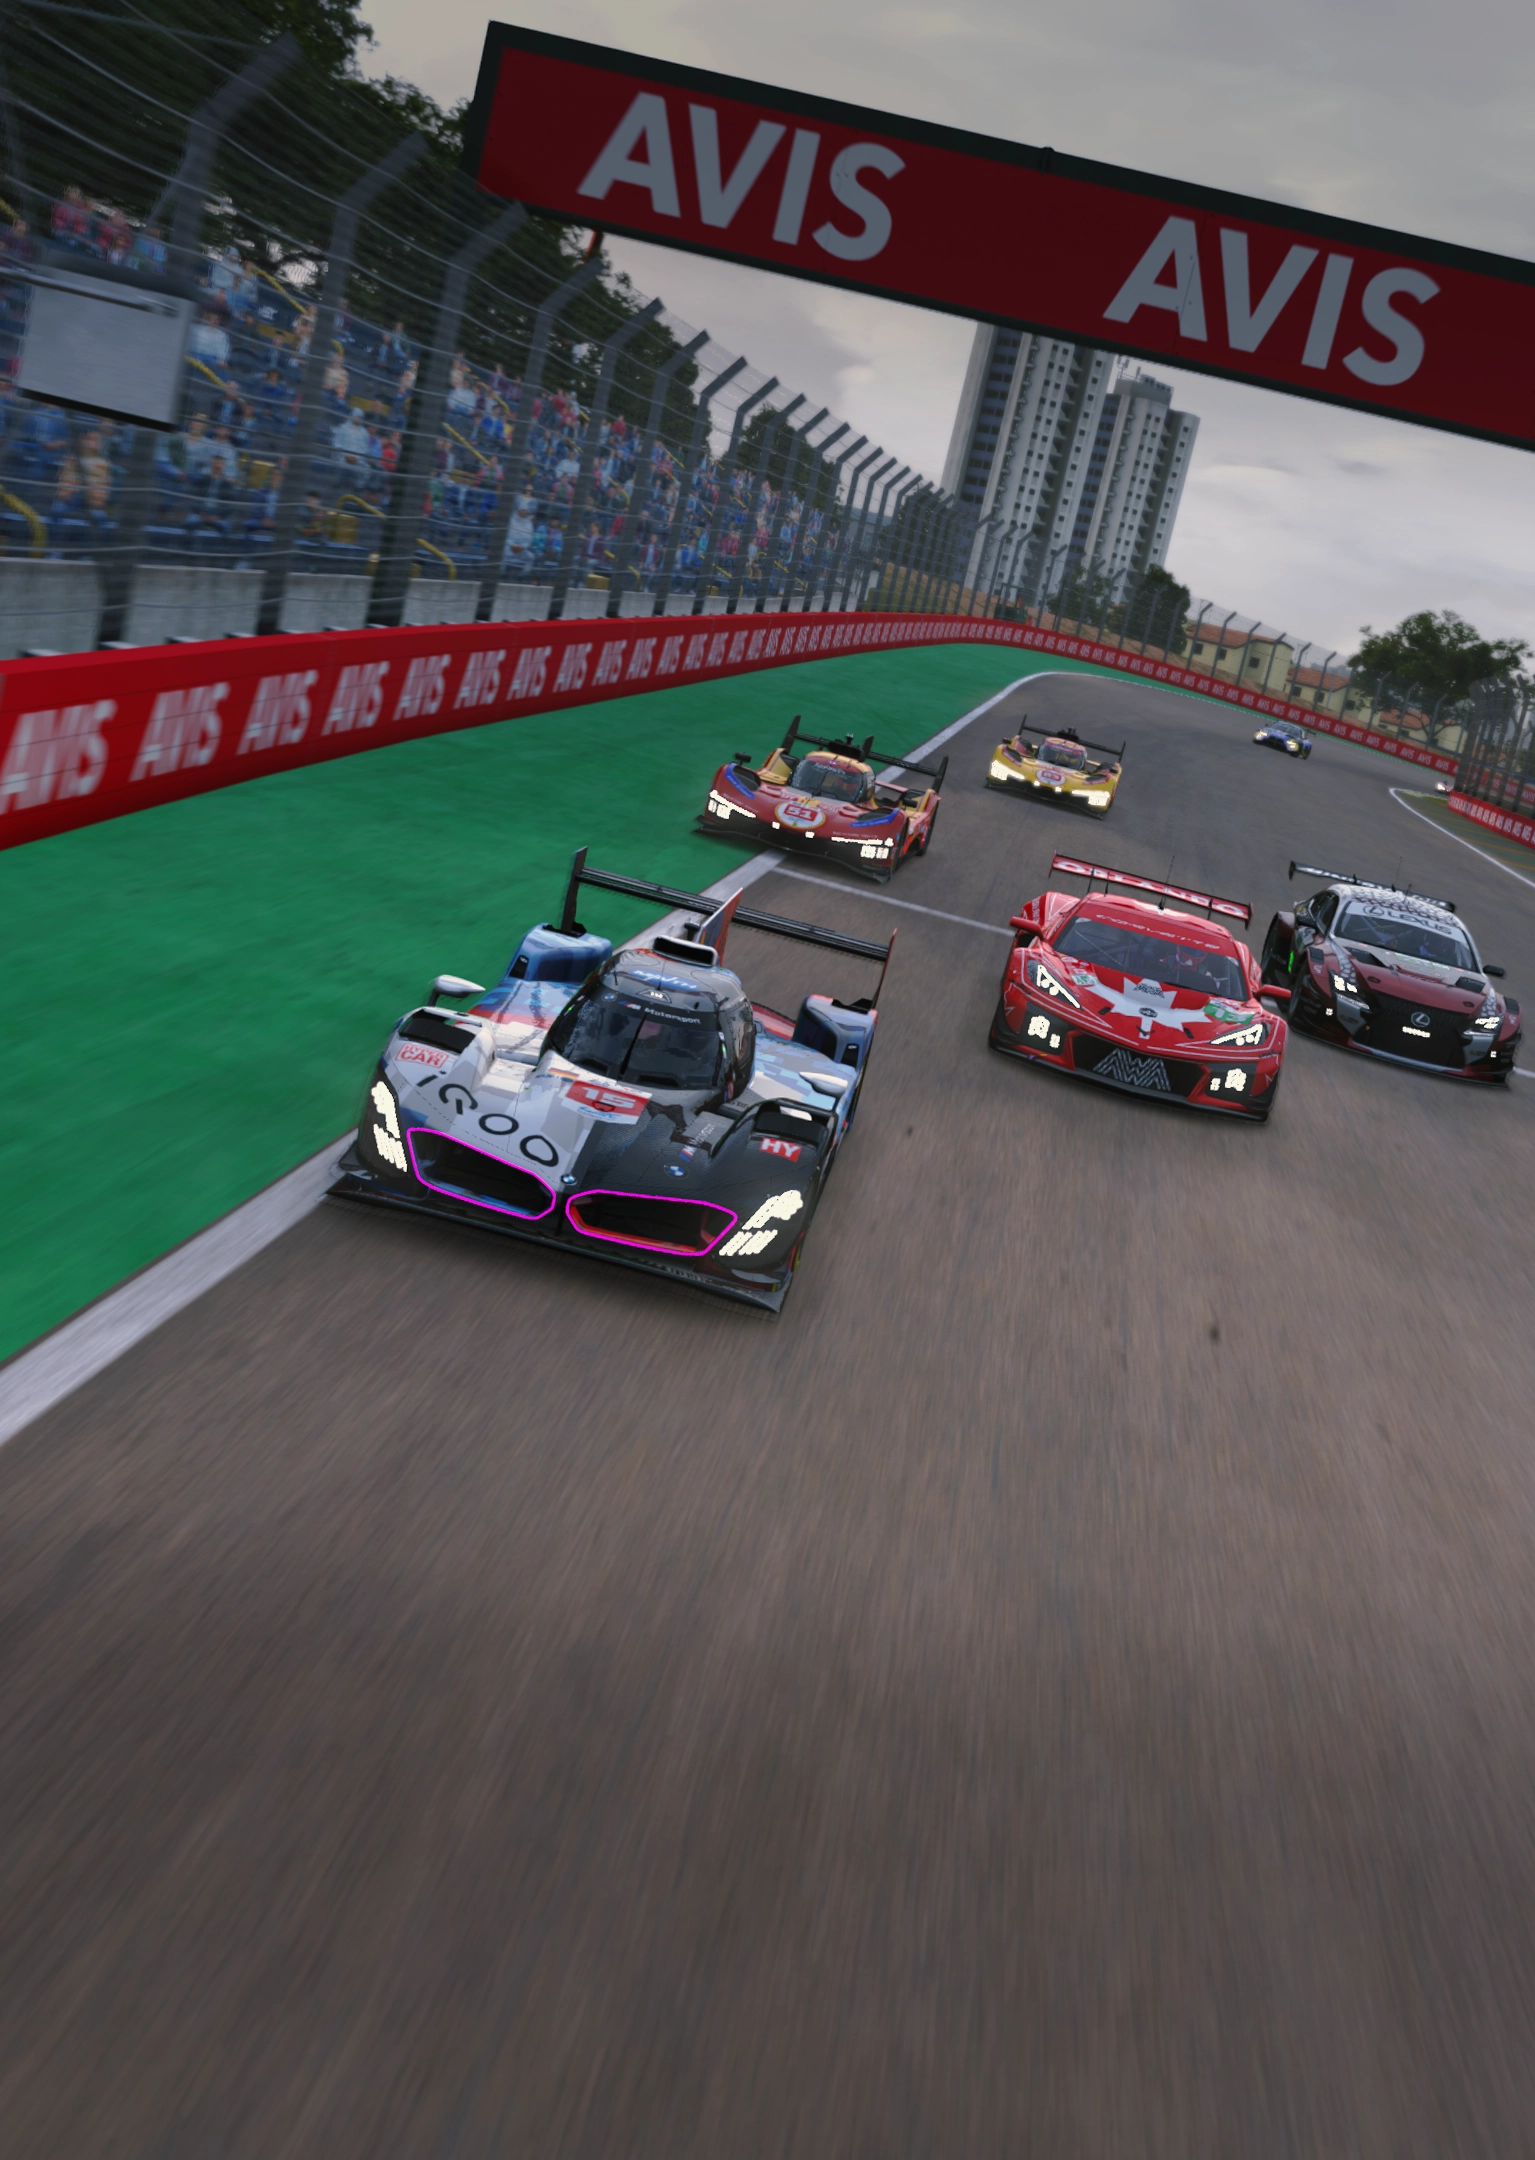
WEC-Xperience Fixed
Duration
55 minutes
Track
Interlagos 2024
19 Sep at 3:25am19 Sep at 4:55am19 Sep at 6:25am19 Sep at 7:55am19 Sep at 9:25am19 Sep at 10:55am19 Sep at 12:25pm19 Sep at 1:55pm19 Sep at 3:25pm19 Sep at 4:55pm19 Sep at 6:25pm19 Sep at 7:55pm19 Sep at 9:25pm19 Sep at 10:55pm
Upcoming Daily Races
Available On
beginner
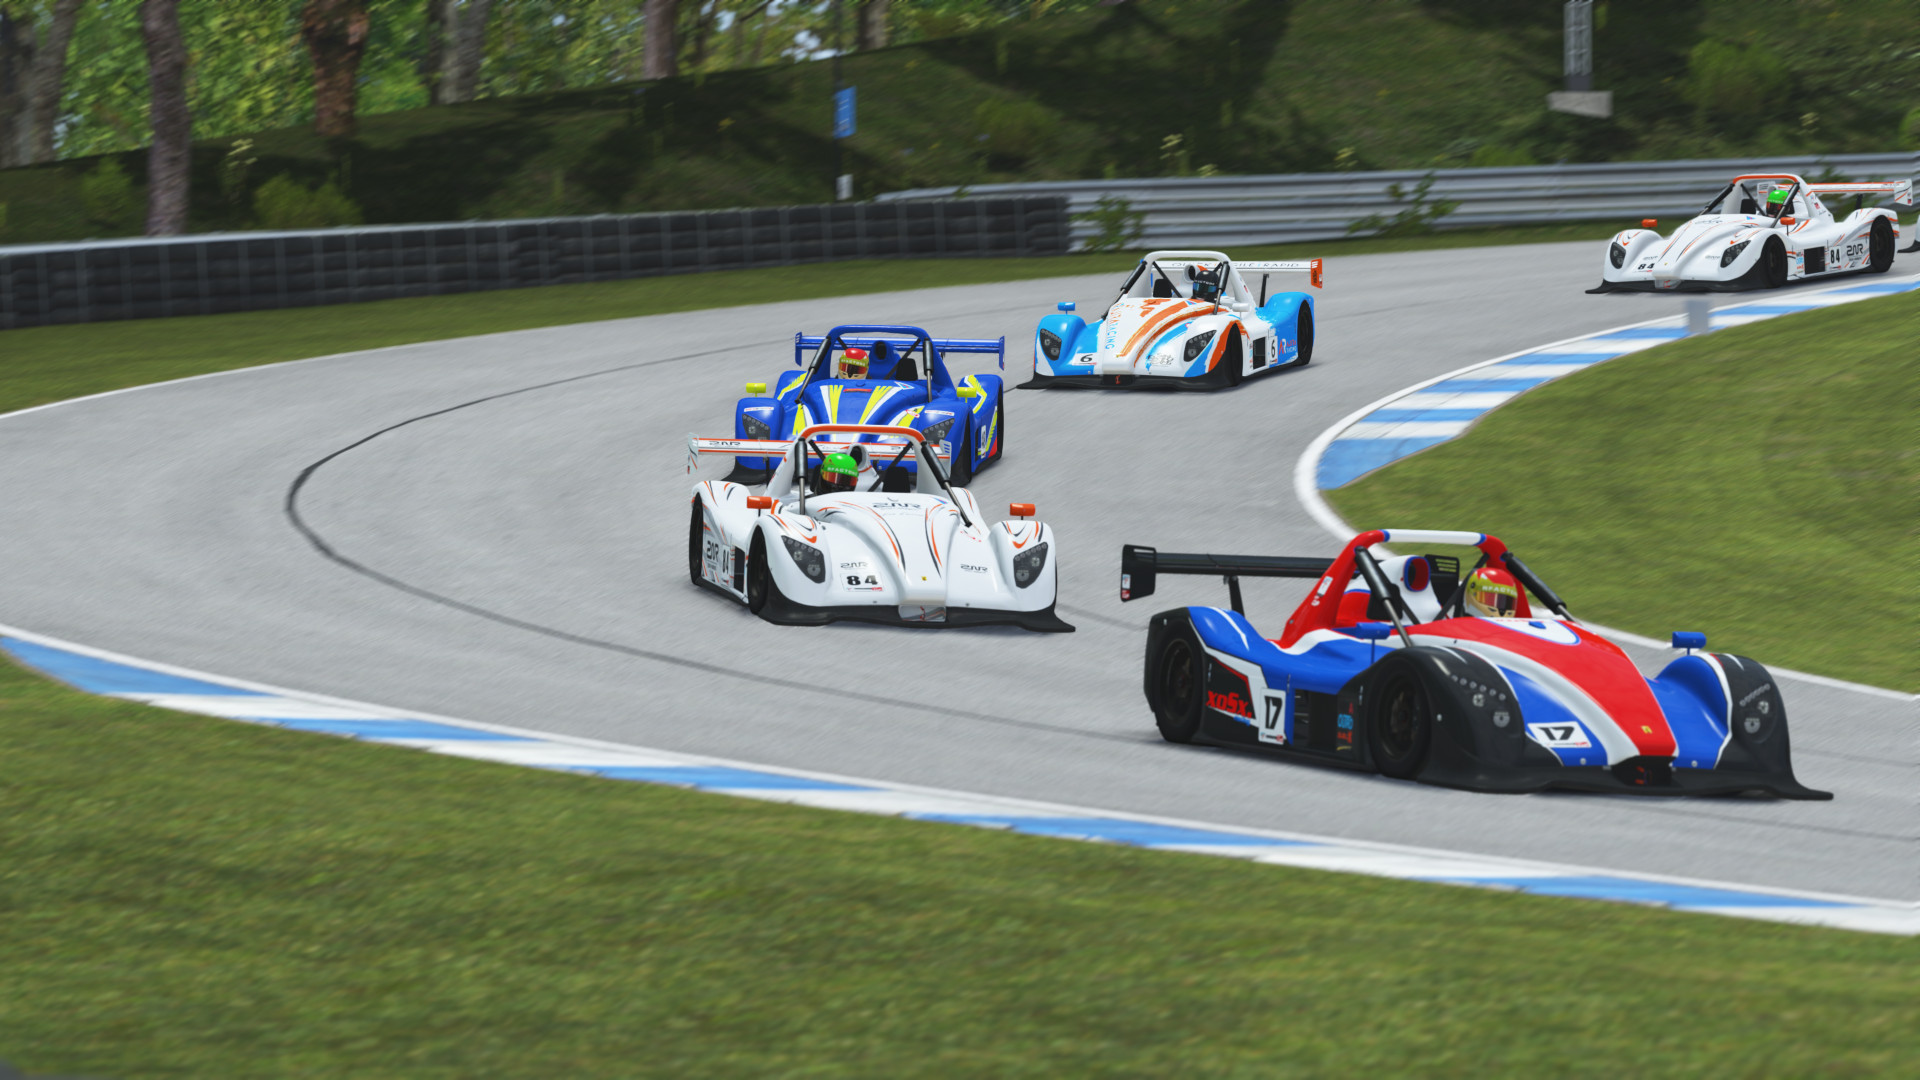
Radical Rookies
Duration
35 minutes
Track
Atlanta Motorsports Park
19 Sep at 2:15am19 Sep at 3:45am19 Sep at 5:15am19 Sep at 6:45am19 Sep at 8:15am19 Sep at 9:45am19 Sep at 11:15am19 Sep at 12:45pm19 Sep at 2:15pm19 Sep at 3:45pm19 Sep at 5:15pm19 Sep at 6:45pm19 Sep at 8:15pm19 Sep at 9:45pm19 Sep at 11:15pm
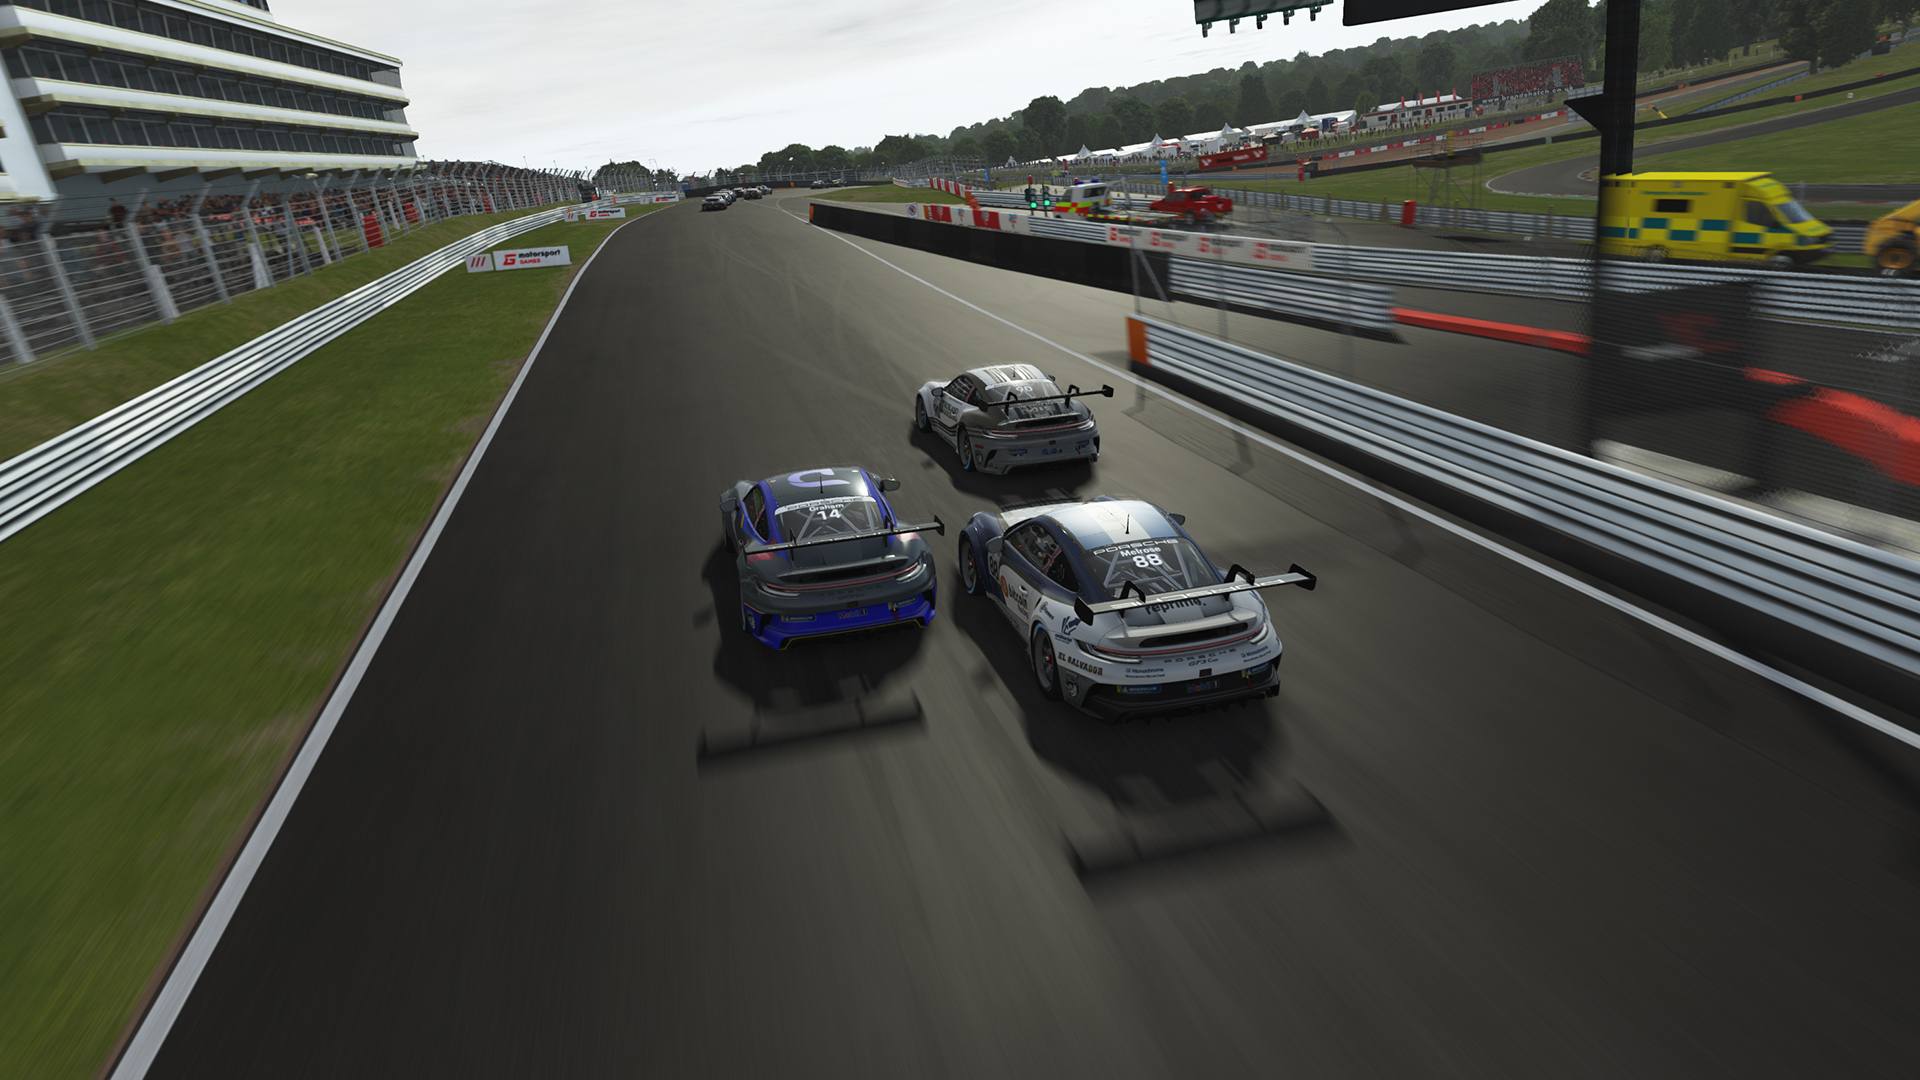
intermediate
Porsche Regional Trophy
Duration
47 minutes
Track
Brands Hatch
19 Sep at 2:30am19 Sep at 4:30am19 Sep at 6:30am19 Sep at 8:30am19 Sep at 10:30am19 Sep at 12:30pm19 Sep at 2:30pm19 Sep at 4:30pm19 Sep at 6:30pm19 Sep at 8:30pm19 Sep at 10:30pm
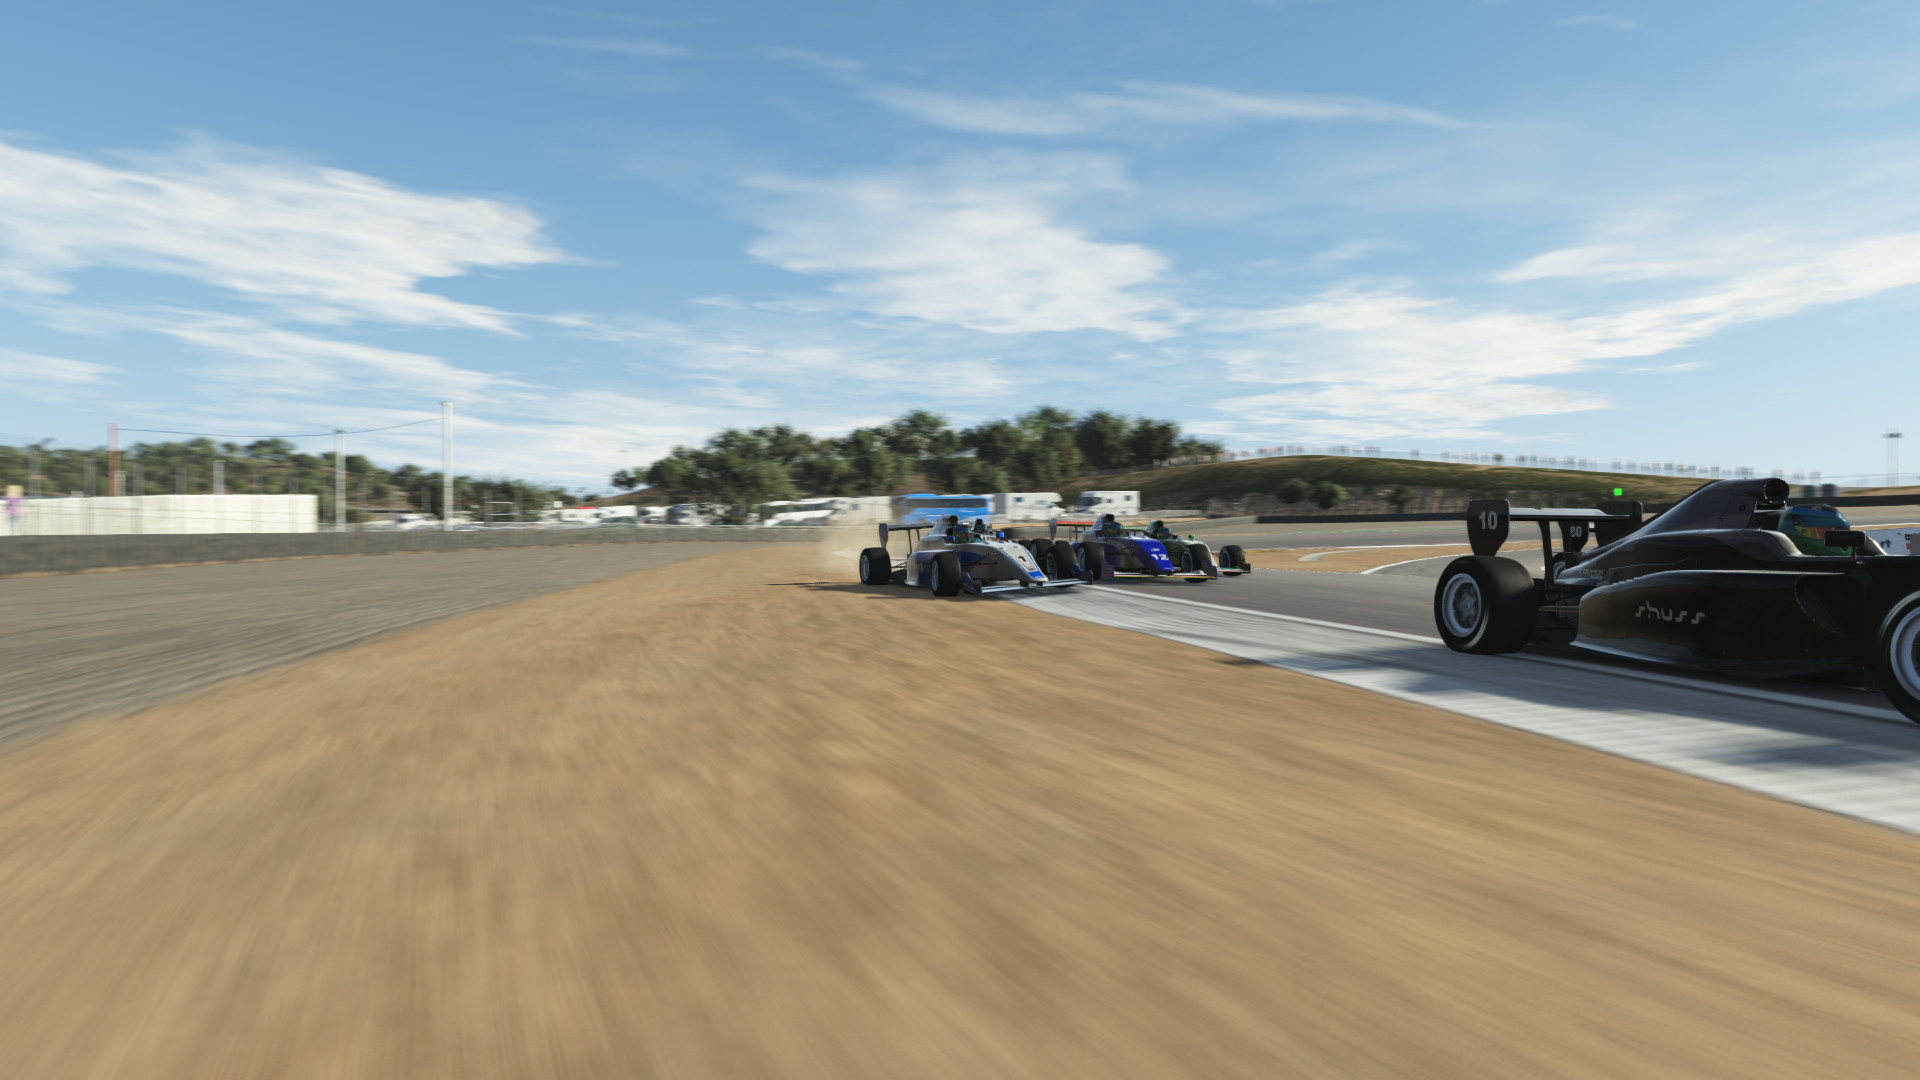
advanced
PM-18 Championship
Duration
1h 27 minutes
Track
Laguna Seca
19 Sep at 3:00am19 Sep at 5:00am19 Sep at 7:00am19 Sep at 9:00am19 Sep at 11:00am19 Sep at 1:00pm19 Sep at 3:00pm19 Sep at 5:00pm19 Sep at 7:00pm19 Sep at 9:00pm19 Sep at 11:00pm
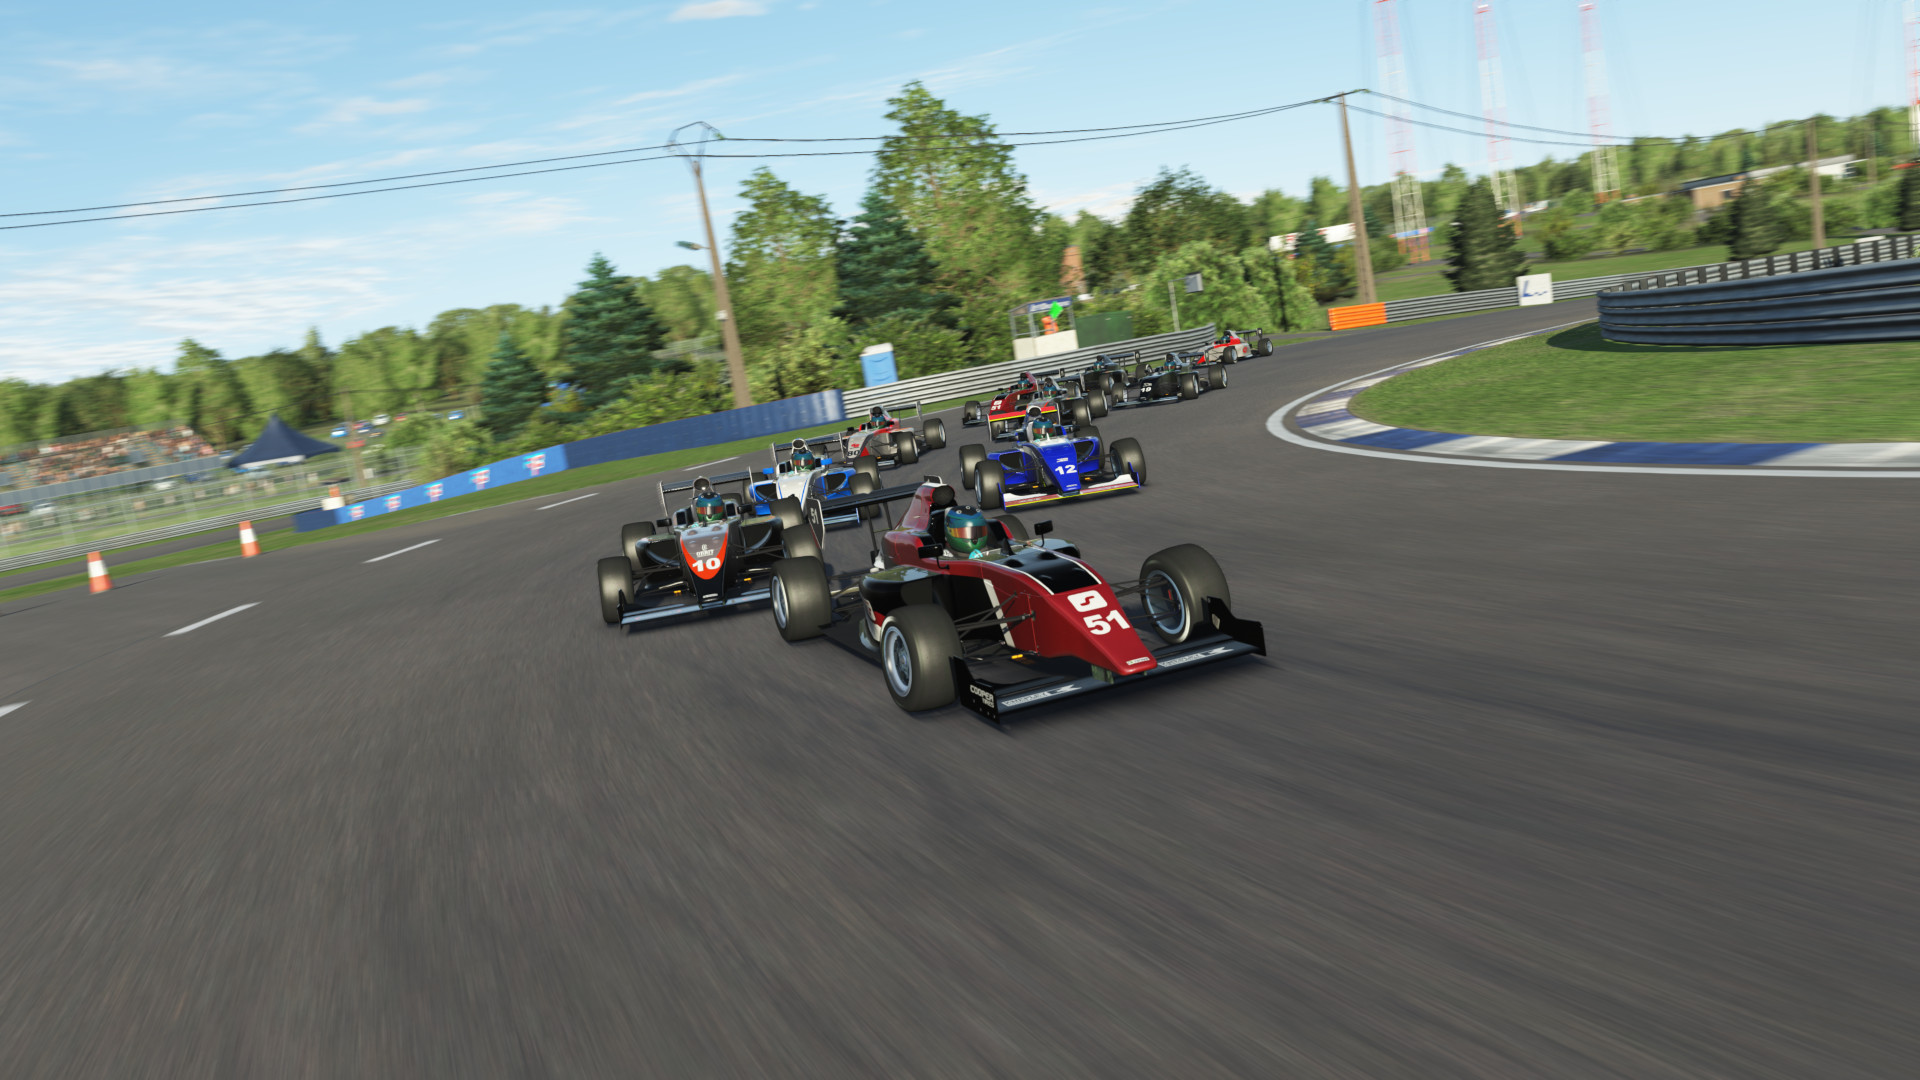
beginner
Open Wheel Sprint
Duration
35 minutes
Track
Loch Drummond
19 Sep at 3:00am19 Sep at 4:30am19 Sep at 6:00am19 Sep at 7:30am19 Sep at 9:00am19 Sep at 10:30am19 Sep at 12:00pm19 Sep at 1:30pm19 Sep at 3:00pm19 Sep at 4:30pm19 Sep at 6:00pm19 Sep at 7:30pm19 Sep at 9:00pm19 Sep at 10:30pm
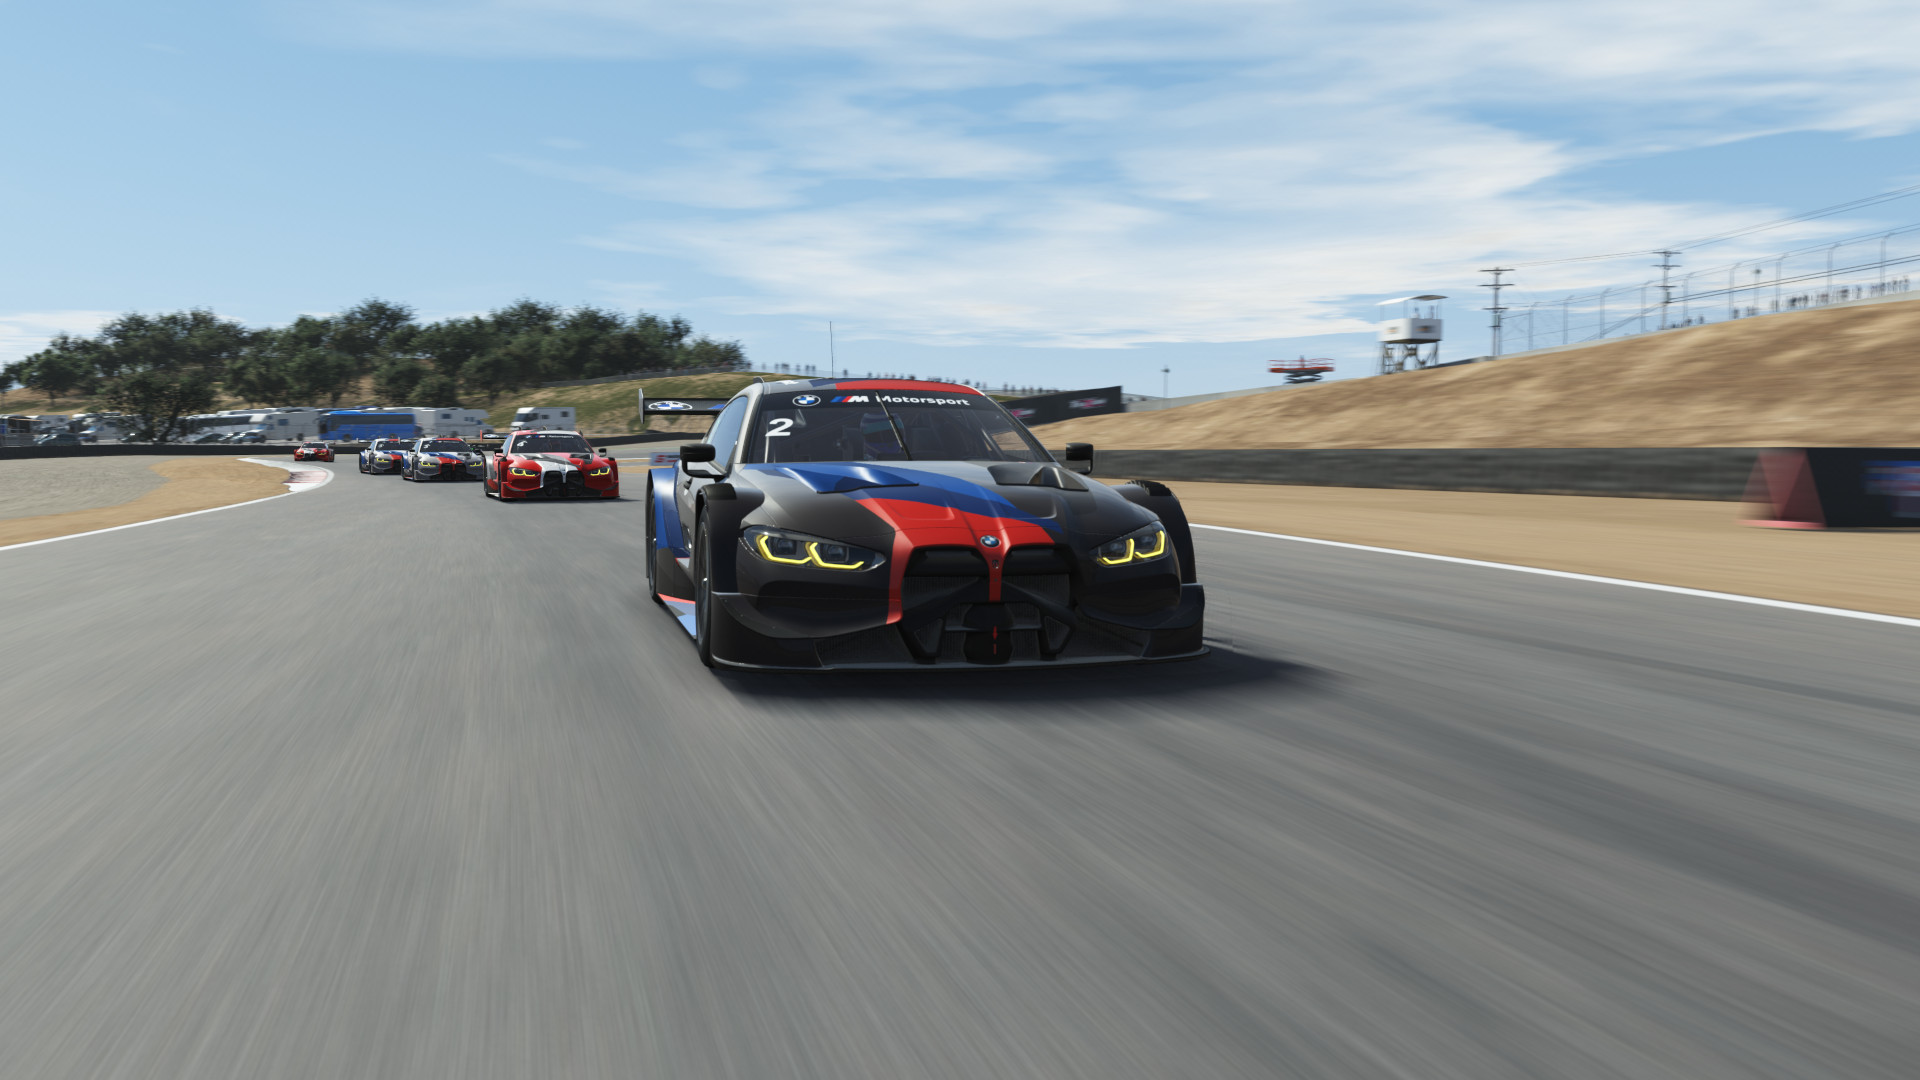
intermediate
Class 1 Masters
Duration
47 minutes
Track
Daytona International
19 Sep at 3:30am19 Sep at 5:30am19 Sep at 7:30am19 Sep at 9:30am19 Sep at 11:30am19 Sep at 1:30pm19 Sep at 3:30pm19 Sep at 5:30pm19 Sep at 7:30pm19 Sep at 9:30pm19 Sep at 11:30pm