January Sale:
Get 10% off yearly subscriptions - Code JAN10
Race online in skill-based events or hosted servers.
The official platform of Le Mans Ultimate and rF2.
Link your RaceControl account to start racing
Explore upcoming skill-based and hosted races
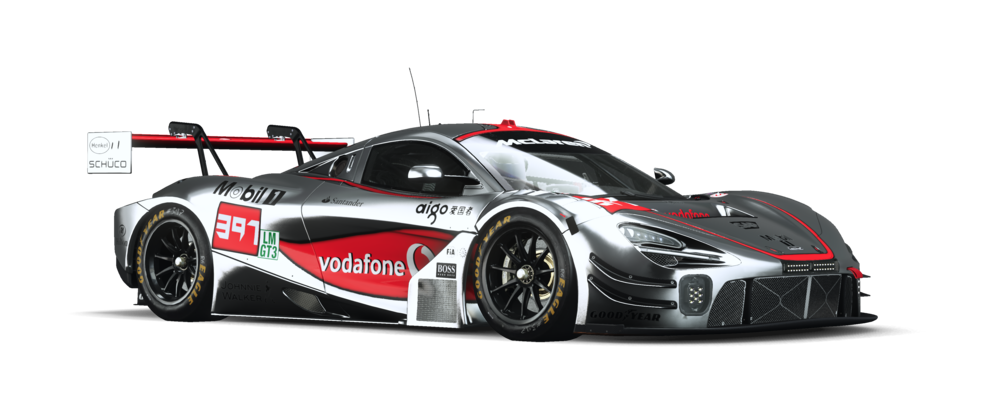
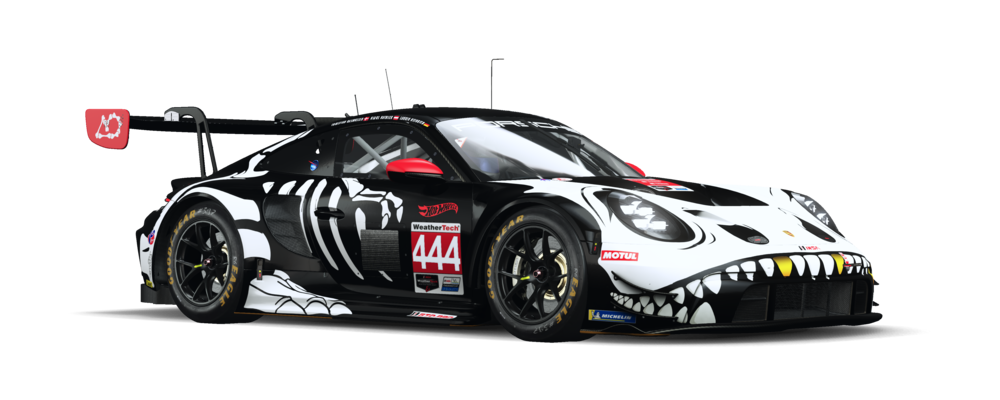
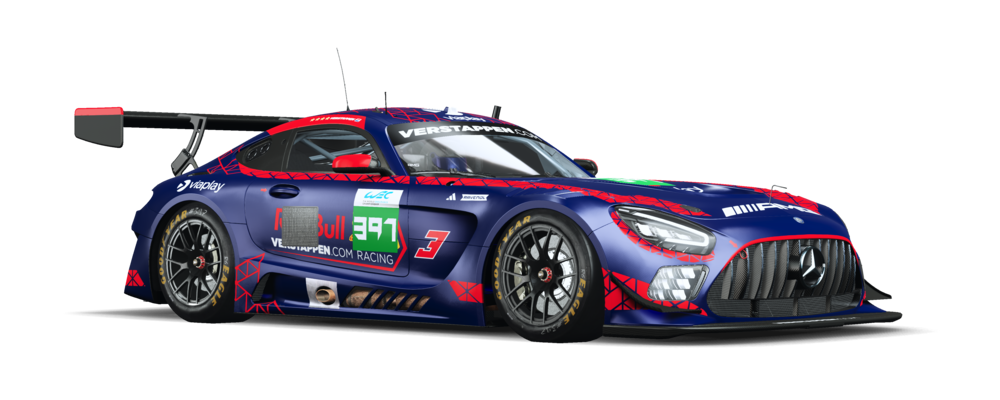
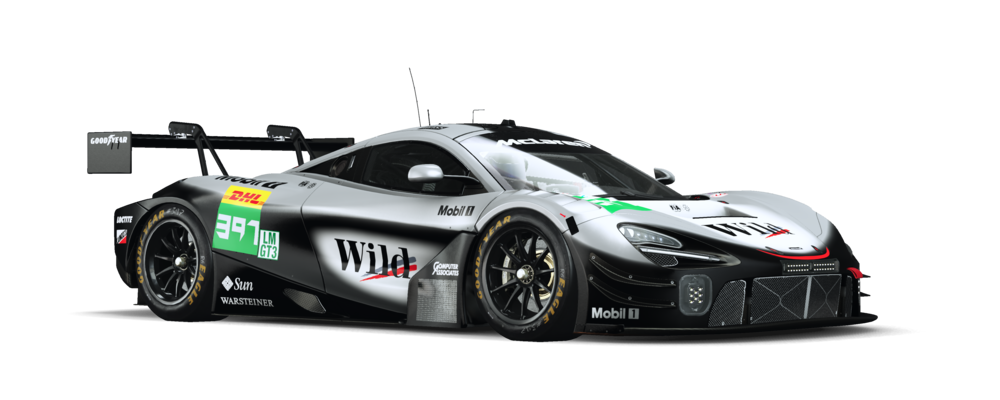
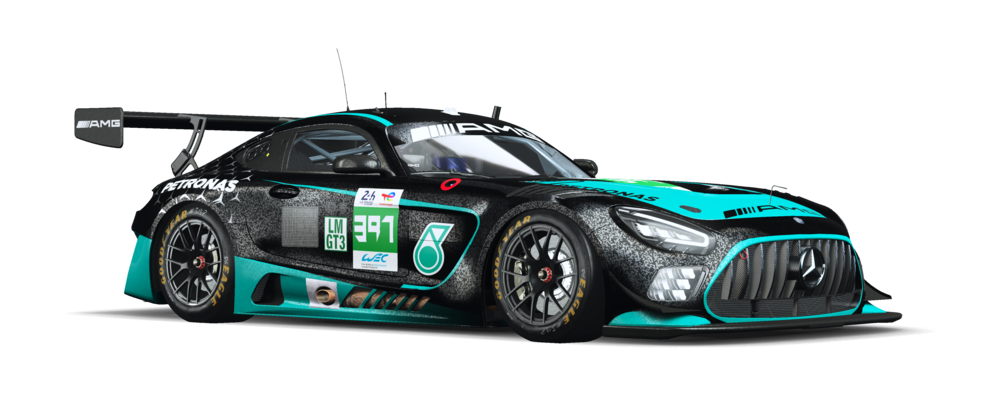
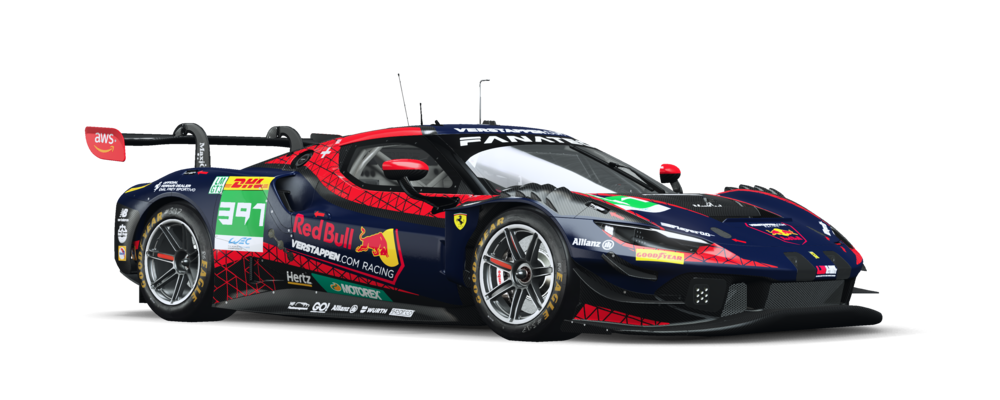
Discover and share custom liveries


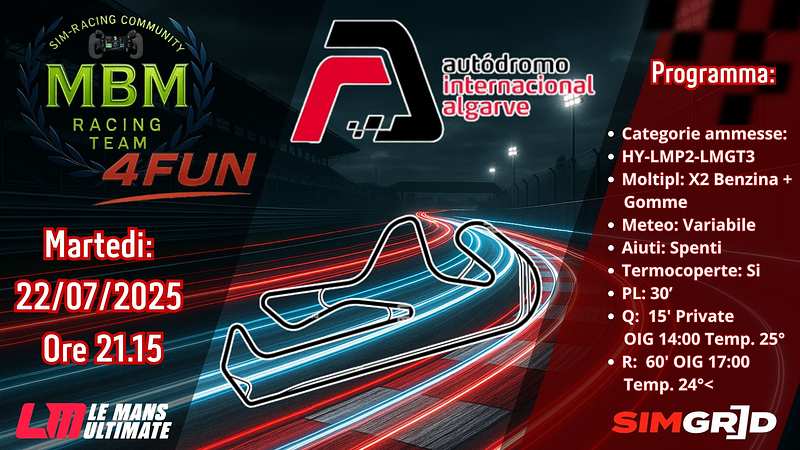
Solo event that is completed with 1 Round.