Race online in skill-based events or hosted servers. The official platform of Le Mans Ultimate and rF2.
Link your RaceControl account to start racing
Explore upcoming skill-based and hosted races
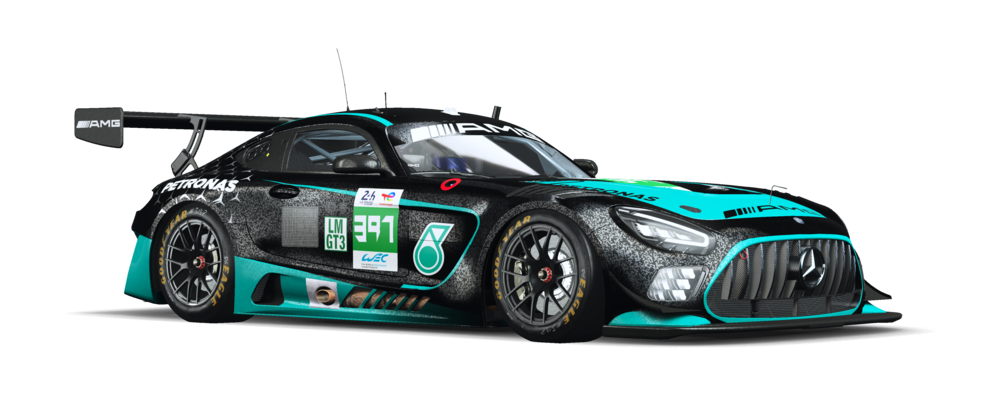
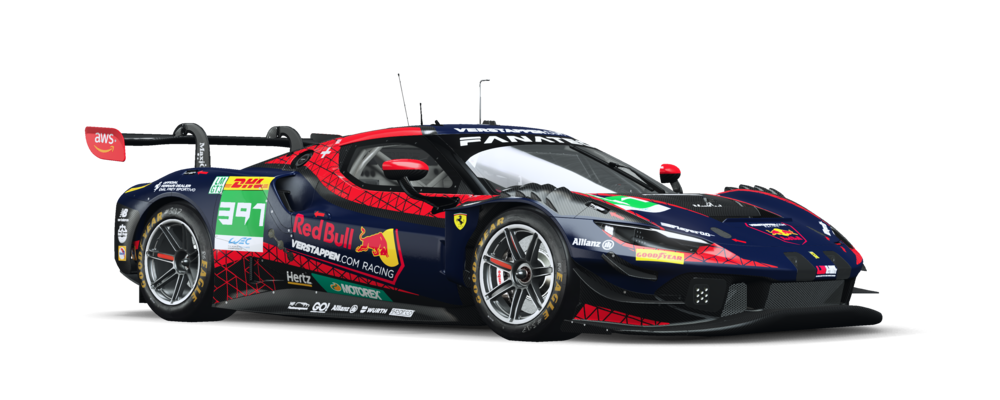
Discover and share custom liveries
Solo event starting on Feb 15 at 7:30pm with 1 Round.
Solo event starting on Jan 22 at 7:30pm with 1 Round.
Solo event starting on Feb 21 at 7:00pm with 1 Round.
Solo event starting on Jan 20 at 9:00am with 3 Rounds.
Solo event starting on Jan 25 at 2:00pm with 1 Round.
Solo event at 5:30pm on Sundays with 2 Rounds.
Solo event starting on Jan 30 at 8:30am with 14 Rounds.
Solo event that is completed with 2 Rounds.
Solo event starting on Jan 16 at 7:30pm with 1 Round.
Solo event that is completed with 1 Round.