Race online in skill-based events or hosted servers
The official platform of Le Mans Ultimate and rF2
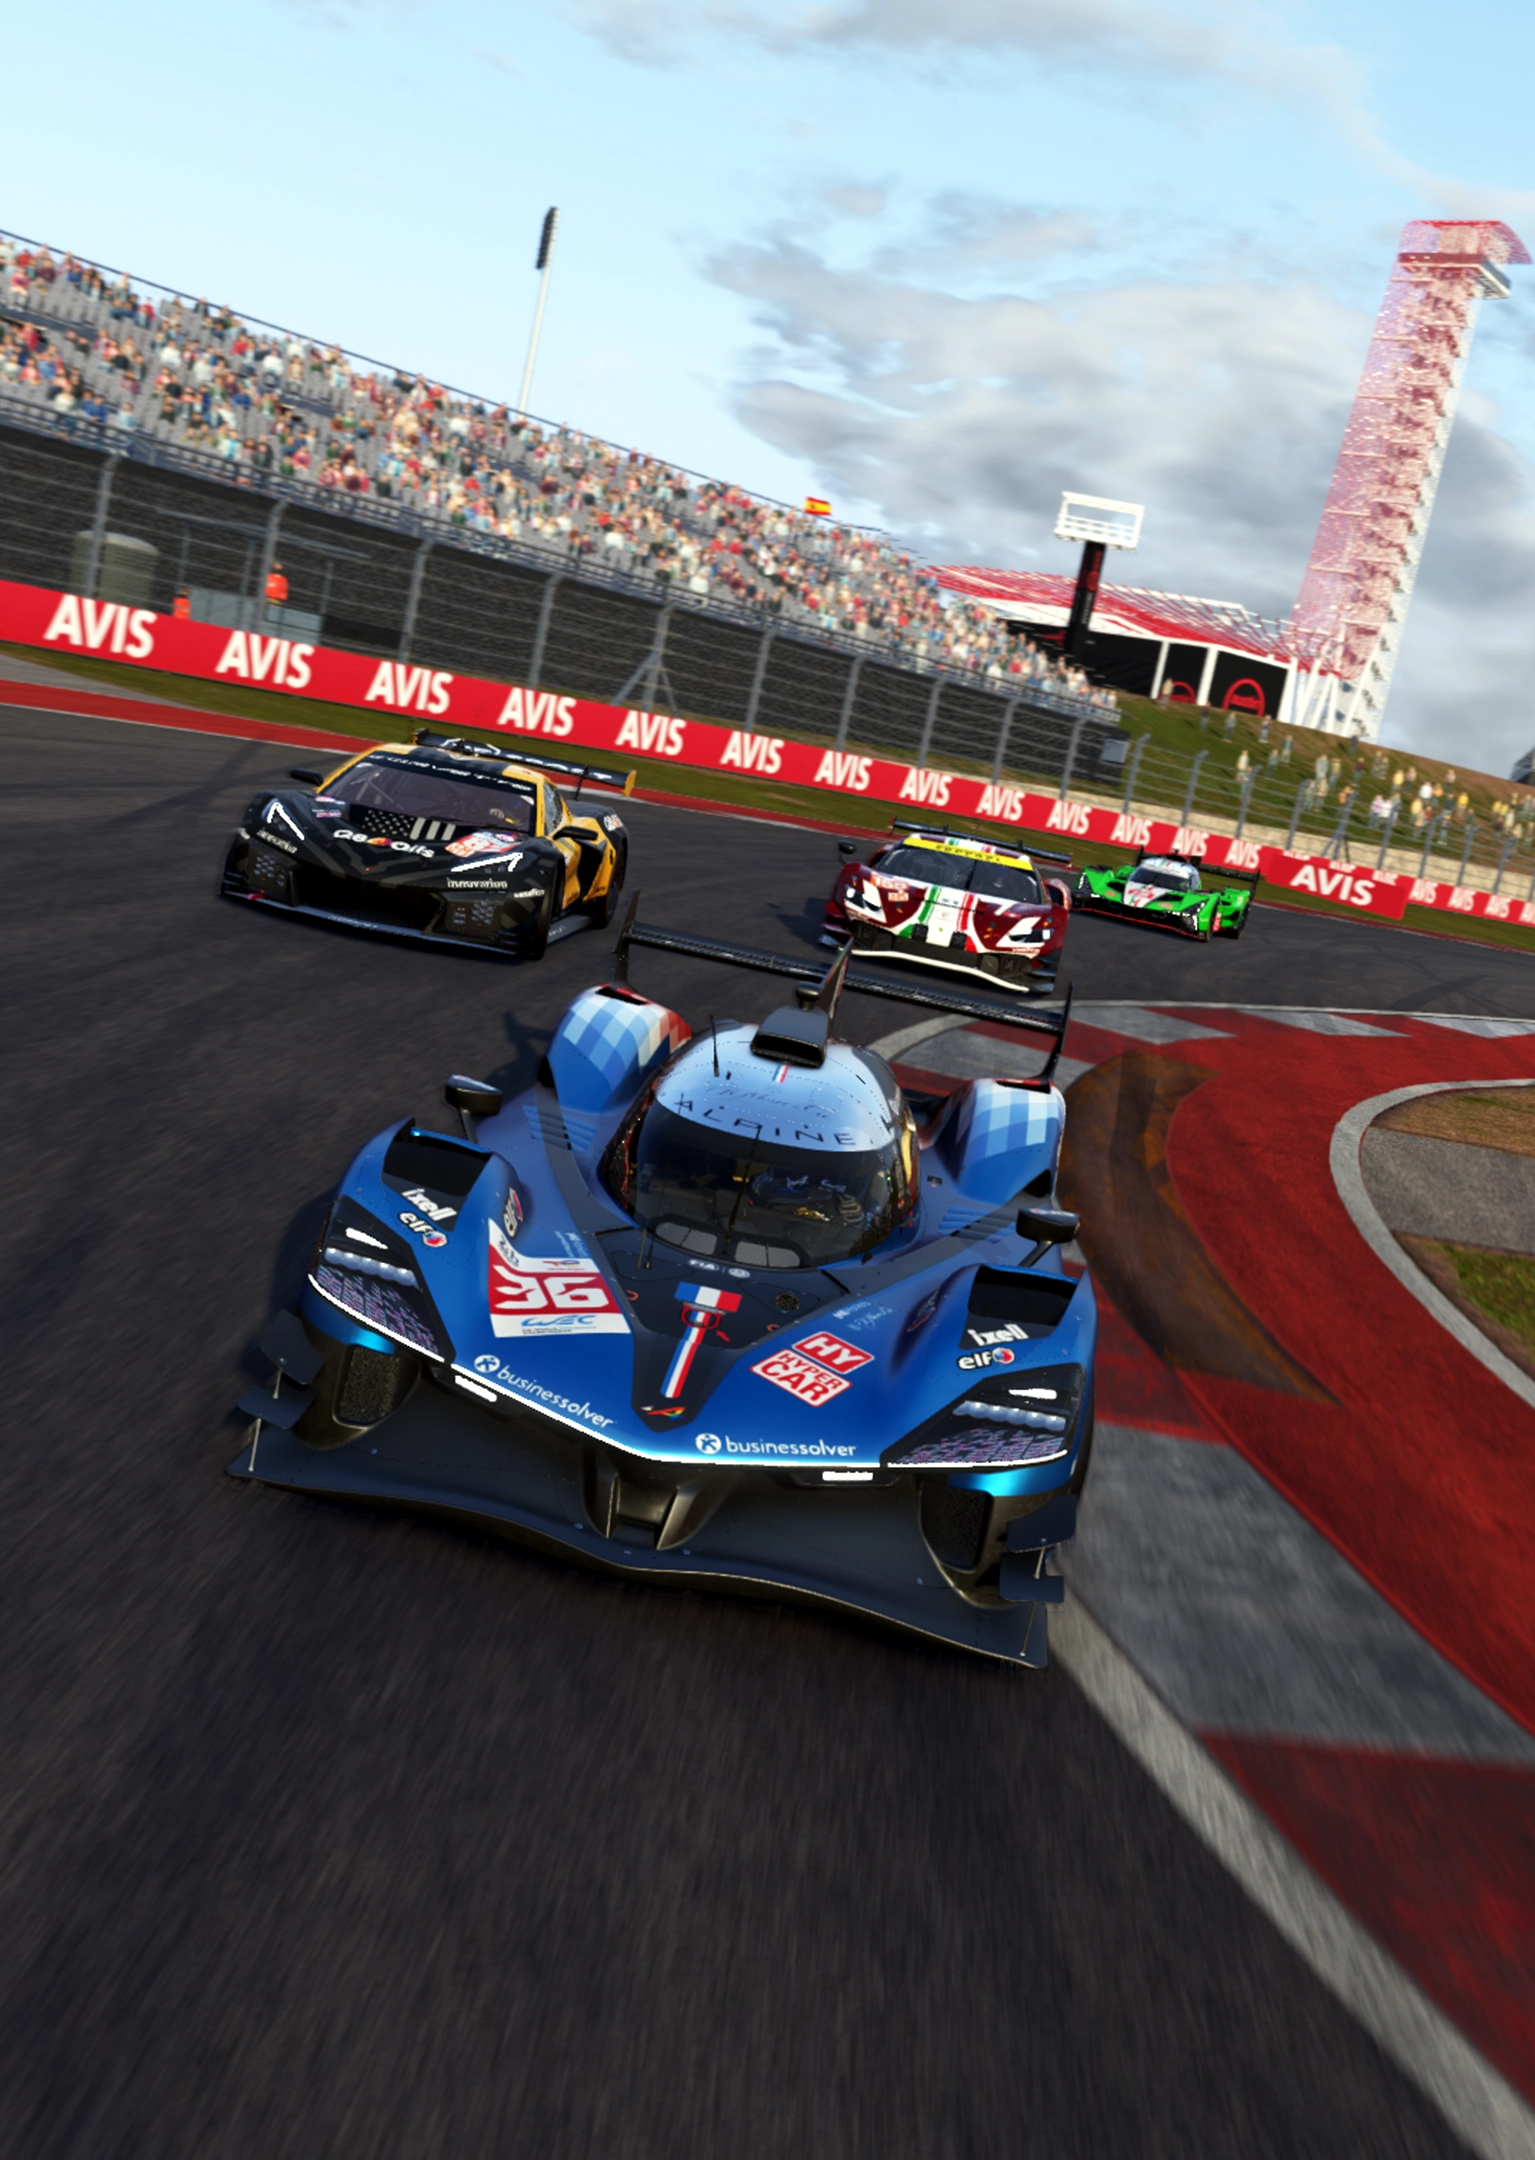


![[LMU] Open Event | Monza Curva Grande 80](https://thesimgrid.com/rails/active_storage/representations/redirect/eyJfcmFpbHMiOnsibWVzc2FnZSI6IkJBaHBBNzByQlE9PSIsImV4cCI6bnVsbCwicHVyIjoiYmxvYl9pZCJ9fQ==--e49a9146f3bbdcdf56f50865a7f142c9b039a5b3/eyJfcmFpbHMiOnsibWVzc2FnZSI6IkJBaDdCem9MWm05eWJXRjBTU0lJYW5CbkJqb0dSVlE2REhGMVlXeHBkSGxwUEE9PSIsImV4cCI6bnVsbCwicHVyIjoidmFyaWF0aW9uIn19--cfd77350c03f413f99d10f3221e77203549b8f7c/F0lNpCRXgAAvFyg.jpg)


Solo event starting on with 3 Rounds.
.jpg)


